题外话,hugo 是使用每一篇 post 前, yaml 格式的 front matter,用于控制文章显示。
比如这篇 md 的开始,我写了这么一段:
---
title: 'Hugo 如何修改首页图片'
date: 2024-09-12T16:17:52+08:00
summary: '安装 hugo 主题后,首先要做的就是修改题图。'
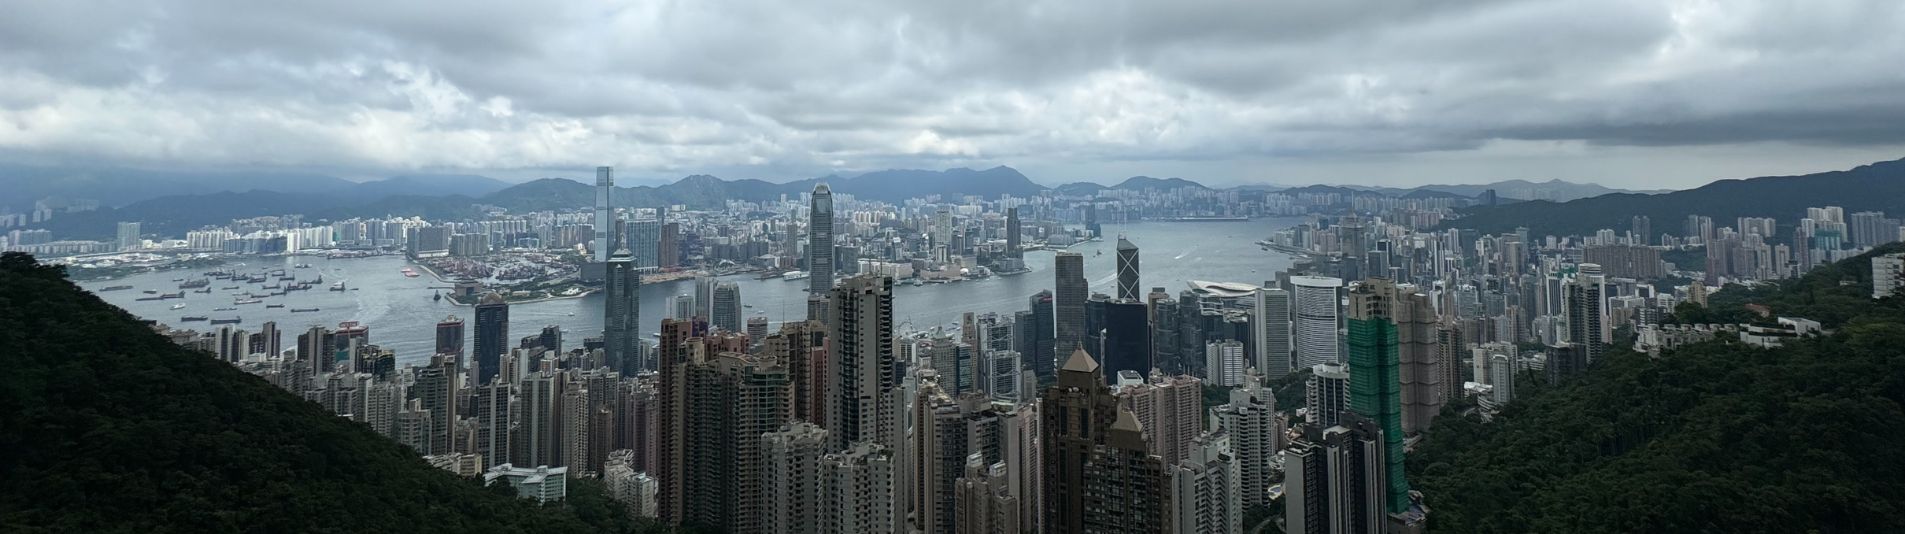
featured_image: '/images/hongkong.jpg'
---
title: 文章的标题; date: 文章发布时间; summary: 在首页显示的摘要; 还可有 tags、categories 等等。
这一篇的主角则是 featured_image。
以 Ananke 主题为例。
为首页设置 “Hero” 图
在 Hugo 的 Ananke 主题中,要配置首页顶部的 Hero 图(或称为 Banner 图),你通常需要使用 front matter 来指定它。以下是如何在 Ananke 主题中设置 Hero 图的方法:
在 Hugo 中,首页的设置通常在 content/_index.md 文件中进行。在这个文件的 front matter 中,你可以使用 featured_image 参数来指定 Hero 图。
步骤:
打开 content/_index.md 文件(如果不存在,则创建一个),并添加以下内容:
---
title: "萤火虫的部落格"

description: "流萤断续光,一明一灭一尺间."
featured_image: '/images/your-hero-image.jpg'
---
将 images/your-hero-image.jpg 替换为你实际图片名称。确保该图片已上传到 static/images 目录中。
为 post 设置 “特写” 图
post 的特写图,是写在每一个 post 的 front matter 中的:
---
title: 'Hello World'
date: 2024-09-10T20:15:45+08:00
featured_image: '/images/hongkong.jpg'
---
补充
-
手工测量了一下,Ananke 的 hero 通栏图片的长宽比例是 1 : 0.28(这在 1980 分辨率上,尺寸约 1905 * 534)。 不用很精确,hugo 会自己 cut 下面多余部分。
-
如果想有一个默认的题图,可以这样:
---
title: "萤火虫的部落格"

description: "流萤断续光,一明一灭一尺间."
cascade:
  featured_image: '/images/your-hero-image.jpg'
---